


Wondering how to set up Mozilla Thunderbird? Follow these simple steps:
1. When you first launch Thunderbird you are asked to create a new account. First click Email account and click Next.
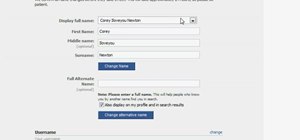
2. Complete your name and email address then click Next.
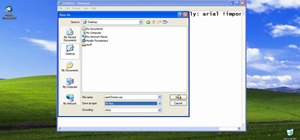
3. Next you are asked for server information, see the options below the image for details.
1. You can choose either POP or IMAP, we recommend POP.
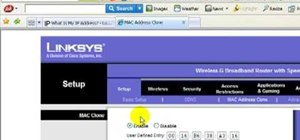
2. Enter your Incoming Server name, this should be mail.plus.net.
3. If you choose to use the Global Inbox, all emails will appear in the default set of folders. If you are running a single account or running multiple accounts but want all the emails to be delivered to the same place, you want to choose this option.
4. Enter your Outgoing Server name, this should be relay.plus.net.
5. Click Next.
4. You are now asked for user information. See the options below the image for details.
1. Fill in your Incoming User Name, this is the same as your Account Username. If you are using a mailbox that you have added to your account, your Username will be 'Account Name + Mailbox Name'.
2. Leave the Outgoing User Name blank.
3. Click Next.
Read more about additional mailboxes in our Mailbox help page.
5. You are now asked what you would like to call your Thunderbird account. Type a name and click Next.
6. You'll now see a summary of all the details you entered during setup. Check that everything is setup how you'd like it to be, if anything is wrong, just click Back and enter the right information. Ensure the Download Messages Now option is unticked. Click Finish.
For a detailed video walkthrough of the Thunderbird setup process, take a look!
Set up Mozilla Thunderbird
 Click through to watch this video on co.uk
Just updated your iPhone? You'll find new emoji, enhanced security, podcast transcripts, Apple Cash virtual numbers, and other useful features. There are even new additions hidden within Safari. Find out what's new and changed on your iPhone with the iOS 17.4 update.


Be the First to Comment
Share Your Thoughts