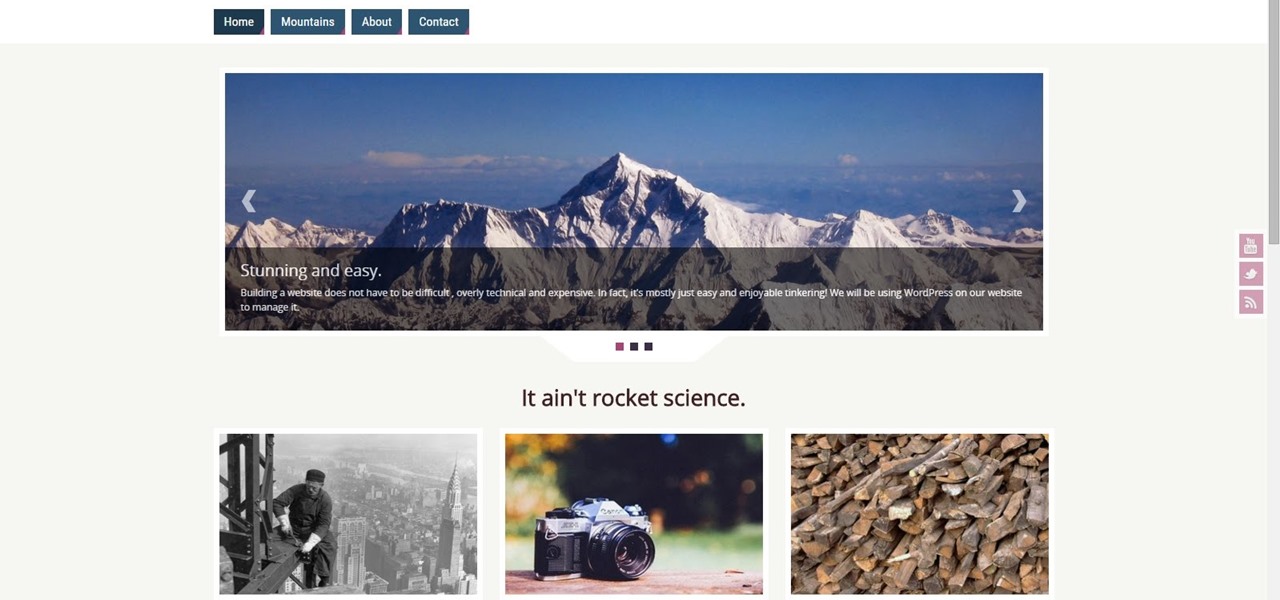

When you don't know anything about building websites, the most probable preconceived ideas for you to possess is that you either believe that you must have a fundamental understanding of how coding works, or that you need to cough up thousands of dollars. While both of those can be very true in many cases, building websites does not have to be difficult. In fact, you don't need to have any experience with coding or cough up thousands of dollars. This we have, thanks to something called WordPress.
I have included a video that, apart from showing you how to create your website, also shows you how to further modify the appearance and understand WordPress in general. If you prefer to read, there'll be instructions on how to fix a domain, web hosting service and install WordPress, and from there everything is quite intuitive and is easy to understand -- but check out the video for further instructions!
Step 1: Web Hosting & Domains
First of all, to have a presence on the internet you basically need two things: A domain and a web hosting service. An example of a domain is "google.com" or "facebook.com," when you register a domain, you are ensuring that it becomes your legal property and that nobody else can register it. Web hosting services on the other hand, are hosting your website. They make sure that your site is actually online, up and running and it's where your website and all its content are stored (on their servers).
Choosing the provider for your domain and the hosting can indeed be tricky, but i have tried many different ones, and i personally prefer HostGator. They are one of the most popular (if not the most popular) for very good reasons. However, you can choose whatever provider you want! Just make sure that people actually like their services... But for the purpose of this how-to-guide, I can't cover each and every one of them, so let us go with a popular one, and the one I myself prefer.
Simply head over to HostGator.com and click "Web Hosting". Here you'll be able to see 3 options: The business plan is quite unnecessary, with the "Baby," you can acquire as many domains as you like -- the "Hatchling plan" only allows you to manage one single domain. Most people go with the "Baby plan" for obvious reasons, and i recommend it aswell. But if you are 100% sure you will only have 1 domain and never change your mind, hatchling plan works. If you plan to pay monthly the difference between the "Baby plan" and the "Hatchling plan" is merely 80 cents. Choose an option.
Step 2: Step 2: Checkout Form
The checkout form is a intuitive, regular form, but a few points: You will have the option of chosing different type of domains (.net, .com, etc...); basically the only difference is in terms of psychology and recognition -- the technical aspect is virtually non-existent (apart from the obvious difference in the... domain name).
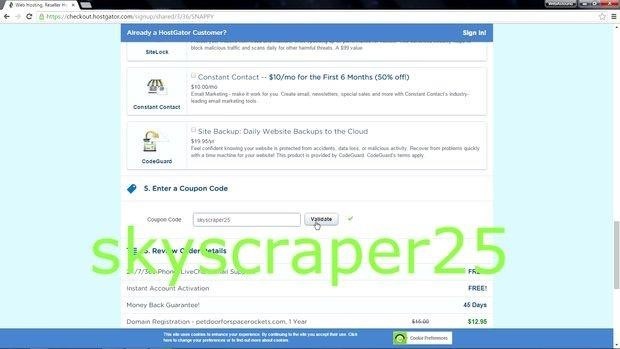
Don't forget to tick off the unnecessary services that they by default give you (otherwise it will cost like 80 bucks). They usually give you a coupon code, "snappy", that gives you 20% off, but if you type in skyscraper25, you'll get an additional 5% discount (25%).
Step 3: Login to Cpanel
When you have completed the purchase, you will have gotten an email -- "Your account info". In there, you'll have login info to the control panel. Use that info to login to the cpanel (link to the cpanel is simply named "Your control panel" in the mail).
Now you will install WordPress! In the cpanel, click "Get started with WordPress" or "Quickinstall" (they are the same thing). You'll see a page where it will say "Install WordPress" -- click that. Now you should be asked to fill out an form. Pretty basic form, but two things top keep in mind: DO NOT type in anything where it says "yourdomain.com/...". The blog title is simply that which shows up, written, on tabs in browsers. Site titles will also be the title text on google search results.
Step 4: Login to WordPress
Alright, so now you will see a new page. Simply click "View Credentials" in the orange, top right field. Here you will have all the info necessary to login to your new website and manage it! However, in most cases it takes about <30 minutes to complete, so don't panic if won't show up immediately -- in some cases it can take up to 4 hours, and in extreme cases -- up to 24 hours.
Tip: Bookmarking the page "yourdomain.com/wp-admin" is a good idea, since that is the URL you're going to be accessing in order to log in to your site and manage it.
Step 5: Managing WordPress
To add content, simply add content with the help of "Pages" and "Posts" in the toolbar menu, to change the look of your site: Appearance>Themes. Don't panic if you don't understand every minor thing when you first login, after a bit playing around with WordPress, it will all makes sense after a while!
Congratulations!
Tip: Many people like to change the password to their WordPress website before they do anything. You can do this by heading to Users>Your profile in the WordPress toolbar.


2 Responses
Mechanical kboard? :p nice video though
haha yeah, sorry and thanks :)
Share Your Thoughts